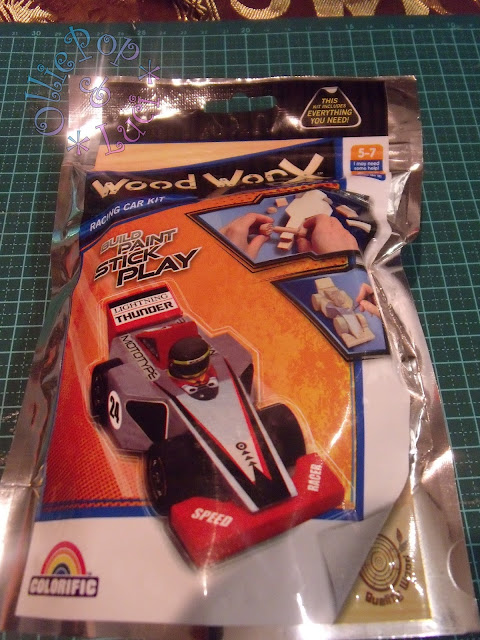
I got given a DIY race car kit to play with from one of my work suppliers.
LETS MAKE IT!!!
Ages 5+, so grab a whole bunch, build them and race them with the family!
It comes with EVERYTHING you need. But you might want a small bowl of water to rinse the brush, and maybe another brush if you don't like the plastic bristles.
Remove the plug from inside the glue bottle, and replace with the nozzle.
Apply glue to the insides of the wheels. You don't need a lot. Maybe 1/3 fill the hole.
I overfilled mine. Oops. Shove those rods into the wheels and sit them up so they can dry.
Run the glue along the top and inside of the C shaped bit.
Stick it to the nose of the car. Broom Broom!!
Gloopy glue is gloopy. Apply liberally to this end of the car (or the accompanying section).
Stick the tail fin onto it.
Apply glue to the cab section (the smaller of the two triangular bits).
Stick it on the back of the car. Try to get it central, but you do you, special snowflake.
Slap some of that gloop onto the helmet.
Stick it in front of the cab, with the cutout facing forwards. Once again, you can try to make it central, or you can do it however you like. It's a free world.
Put the sticks through the holes. ALMOST DONE!!
Fill the last two wheels with glue.
Press them together and leave to dry for a couple hours.
Have a glass of wine, or two. Or three.
Now that its dry, time to paint!
You don't need to water down the paints at all, and you get enough to do 2 coats of each colour.
After the first coat of paint, I ditched this brush and found a new one.
PAINTED AND STICKERED!!
Looks pretty much like the picture on the packet, so I'm happy :)
I'm impressed with my talent. I make a good 5+ year old.
It comes with extra visors, in case you have three people who want to race the same model of car.
TIPS AND TRICKS
1) Work out what goes where, and paint everything (except the areas that are to be glued) first. It would save so much fussing when you can't get your brush between the wheels and the side of the car. I can't count how many times I swore at myself for getting black all over the silver.
2) I didn't paint the base of my car because no-one was really gonna see it.
3) Mix it up! Do a red car with silver detailing, do a black car with red wheels... you get enough paint to make it happen.
4) If you can find washers or spacers to add to the wheel axles, do it. I found that I had a little too much wiggle in my car. It ran fine, and it rolled ok, but it would be better with even spacing on both sides.
5) HAVE FUN!!!!
Thanks to Croxley & Colorific for letting me build a car! You can get them almost anywhere that sells kids craft supplies, stationery and gifts. It costs between $5-10 NZ per car.
It currently lives on a shelf at work, so all my workmates can enjoy it.


No comments:
Post a Comment